Preparing your yacht for the season might be quite a challenging task and the reason is not something in particular – it’s just the sheer number of necessary things in your to-do list to memorize that can be really intimidating. As with all the complicated processes, in this article we will try to divide and conquer by explaining every little part of yacht preparation, combining them all into a convenient checklist that you can always refer to when needed. Let’s get started!
Pre-departure to the Boat Yard
Safety indeed comes first - before heading to the boat yard, make sure that all the necessary safety equipment is in place. All safety gear, such as life jackets and first aid kits, must be in good condition and it would be wise to keep track of expiration dates of the medical supplies. Review the weather forecast to anticipate any potential challenges you may face during the preparation process or during the launch. Pay attention to weather warnings – an unexpected storm can make you completely change your plans.
It is important to set up a functional VHF system to ensure effective communication during your sailing journey. Familiarize yourself with your specific device’s operation and make sure you know how to send distress calls. Check the antenna, connections and microphone to ensure they are working properly.
Next, inspect your navigational equipment, including chartplotter, GPS and compass. Make sure that all devices have up-to-date software and navigation charts. Again, check the antennas – that’s the flimsy part that sometimes gets damaged seemingly for no reason.
Make sure all necessary boat documents are onboard and easily accessible. This includes your boat's registration, insurance papers, radio license along with any permits necessary for your planned route. You better keep these in a waterproof locker.
Equip yourself with all the necessary equipment and spare parts to tackle any scheduled maintenance tasks, like engine oil and filters, impellers, spare belts, fuses, and other common replacement parts. It makes sense to create a detailed service plan for all maintenance activities required before launching your yacht. This plan should include tasks such as engine servicing, checking and lubricating winches, inspecting and replacing standing and running rigging, inspecting and cleaning through-hull fittings. Again, you eat a pie in manageable pieces – break it up into small tasks and allocate sufficient time for each task to ensure efficient completion.
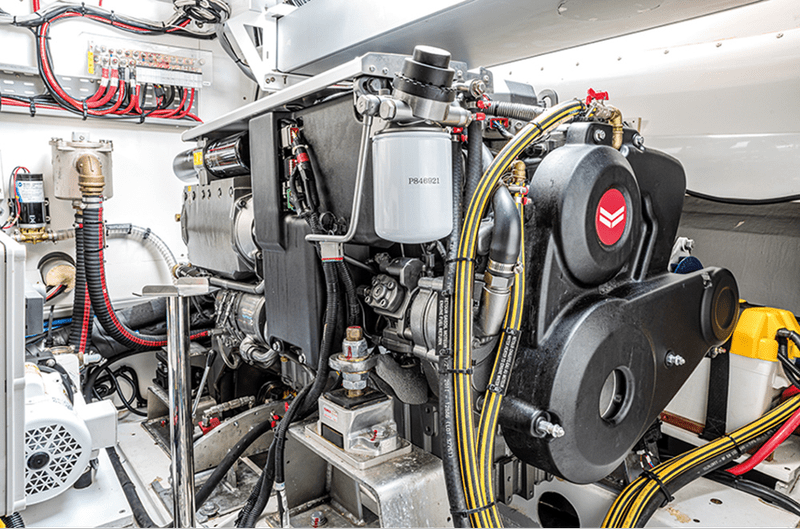
Check if your fuel levels are adequate for the upcoming season, take a thorough look at the fuel lines and filters for any signs of wear or leakage. Having spare fuel filters on board is also a good idea in case clogging or contamination occurs. Inspect the engine and coolants next: check the engine oil level and condition, coolant levels, belts for any signs of wear or cracking. Start up the engine and observe how it runs to ensure it operates smoothly, without any unusual noises or vibrations.
Inspect the bilges for any signs of damage, leaks, or accumulation of water. Clean the bilges thoroughly and ensure the pumps are functioning correctly. Test the automatic bilge pump and manual switch – these devices are your lifesaver in case of yacht’s hull damage at the sea.
Next, prepare the anchor and chain for use. Clean the anchor chain and lubricate the windlass to ensure smooth operation. The anchor and chain must be properly secured and stowed in a way that allows the crew to deploy it quickly when necessary.
Before lifting your yacht, take another look at the boat and all the equipment – did you miss anything? Check the hull for any signs of damage, including cracks, chips, or blisters, inspect the deck and cockpit for any loose fittings, cracks or areas that require resealing. Verify that all navigation lights, deck lights, and other electrical equipment are functioning properly.
Prepare protective covers for the deck, cockpit, saloon and flybridge to prevent damage from dust, debris and sunrays. Try and get breathable covers or tarps that provide adequate protection while allowing air circulation.
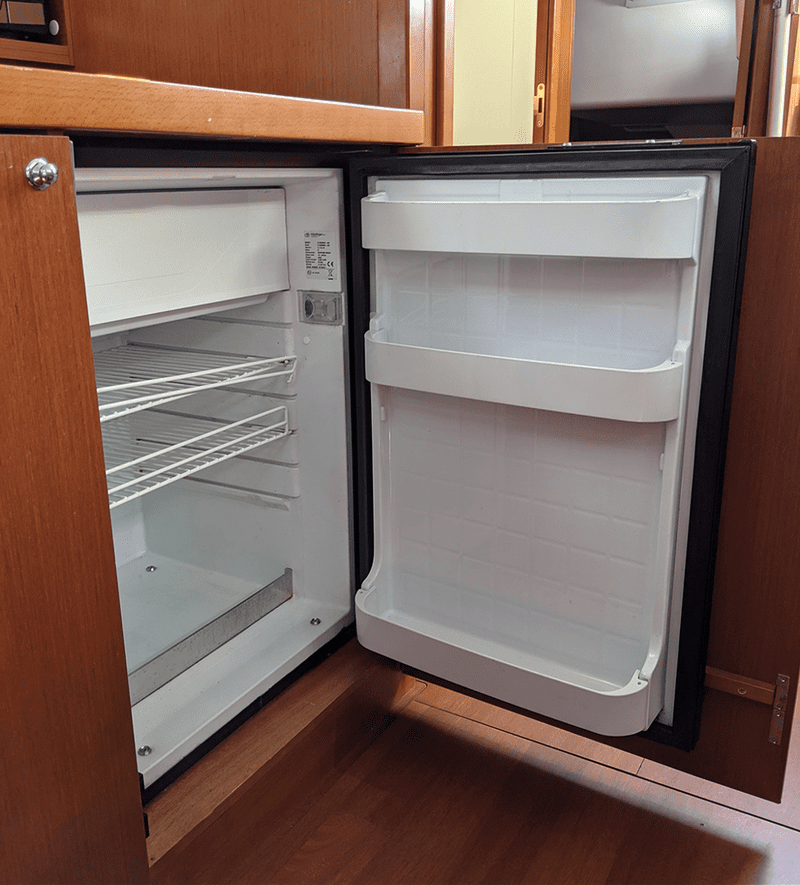
Get rid of the all the perishable food items from the galley to prevent spoilage and potential odors that would scare all the passengers away. Clean the refrigerator and freezer well and don’t forget to sanitize the compartments.
Close and tighten all hatches and portlights to prevent water ingress and ensure a watertight seal. Test the functionality of each closure mechanism and replace any worn-out seals or gaskets.
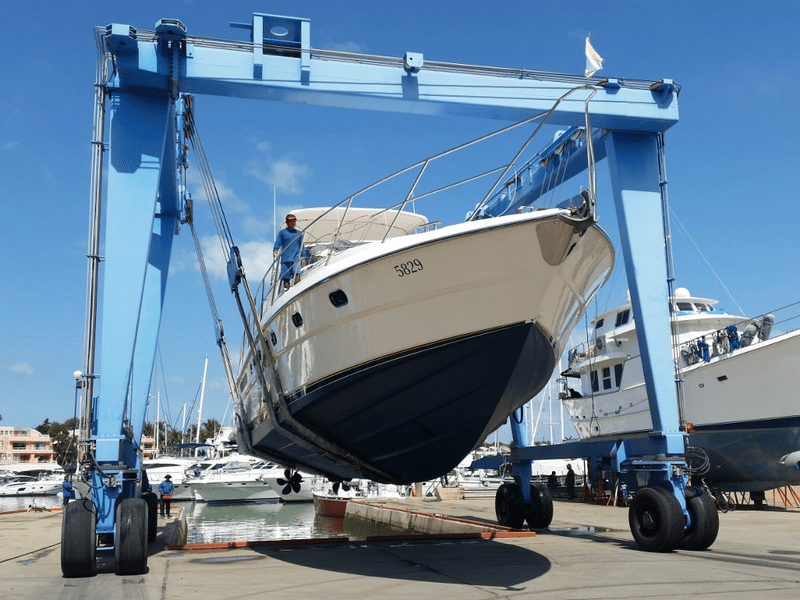
Do you know exactly how the boat will be lifted? It would be wise to draw up a lifting plan before arriving at the boat yard. Make a simple diagram indicating the locations on the hull where the lifting slings should be placed. This way the lifting process will be smooth and you will avoid damaging the vessel or its equipment.
Review the instructions provided by manufacturers of antifouling paint, engines, and bow thrusters that you use, as well as any other equipment planned for service. Don’t ignore the recommended procedures and precautions – these are meant to make the service process safe and effective. Consider documenting the process through photos and videos to keep a record of the work done and create a certain staple for the crew.
After Arriving at the Boat Yard – Dock and Getting Ready to Lift
Upon arrival at the boat yard, switch off your engine and turn your battery switch to the "Off" position. Additionally, shut down your AC and DC power systems to prevent any accidental operation or power consumption. Capture detailed photos of all critical components, connectors, and their placement before the lifting process starts. This reference is going to be helpful when reassembling the equipment after the yacht is launched.
To easily identify and reassemble the rigging, attach labels describing the respective type and location. This simple step will save you time and effort when reattaching rigging components and setting up your sails.
If your boat will stay on the hard for an extended period, remove all sails from the mast, including headsails on furlers. This protects the sails from prolonged UV exposure and reduces the risk of damage due to strong winds or severe weather. Disconnect the topping lift, boom vang, backstay, and any other attachments that connect the boom to the mast if necessary for the lifting process. Secure and coil any lines in or on the mast and keep them in place to prevent tangling or damage during the lifting.
If you don’t want your fancy wooden flooring to deteriorate fast, cover teak and other vulnerable surfaces while to protect them from dirt, dust, and potential damage.
On the Hard – After Lifting
Right after the lifting process, perform pressure washing to remove any accumulated dirt, marine growth, and loose paint from the bottom of the hull to get a clean surface for further inspection and maintenance. Inspect the still shiny, wet surface to check for any blisters before the bottom dries. Examine the hull from different angles to reveal any developing blisters – these are sometimes hard to see right away. If blisters are present, request the boat yard to check the bottom with a moisture meter once it dries to assess the severity and prepare for necessary repairs.
Inspect areas that remain wet even after the surrounding zones have dried. This could indicate a problem in the laminate, such as water intrusion or delamination. Address any issues promptly to prevent further damage.
Thoroughly check the hull for any cracks, delamination, corrosion (in the case of metal hulls), or impact damage. Repair any issues found using appropriate materials and techniques to ensure the structural integrity of the yacht. Perform a scrape test on all through-hull fittings to expose any signs of corrosion. Grease and exercise the valves to ensure smooth operation and prevent them from seizing.
The propeller must be tightly secured – make sure that the blade bearings rotate smoothly. Inspect the P-bracket (if present) for reliable fastening and check for any play in the bearings. If your yacht has a sail drive, inspect the diaphragm and gaiter for any signs of wear or damage. Inspect the rudder bearings to ensure they are in good condition, lubricate and replace any worn-out bearings to maintain smooth steering.
It is important to replace all anodes to protect your yacht from galvanic corrosion. Avoid mixing different types of anodes on one boat, as this can lead to accelerated corrosion due to galvanic incompatibility.
Clean any hull and keel coolers to remove accumulated debris and ensure efficient heat exchange. Inspect the coolers for any signs of corrosion or damage and address any issues accordingly. Make sure the log (speed and distance measurement device) is clean and rotates freely with the sensor properly aligned.
If your yacht is equipped with a bow thruster, follow the manufacturer's recommendations when it comes to testing – simulate the situation that requires smooth maneuvering in tight spaces.
Check all through-hull fittings to ensure they are in good condition and properly sealed. Inspect seacocks for any leaks or signs of corrosion, check if they move freely. Service any frozen or stiff seacocks to prevent malfunctions during your sailing season.
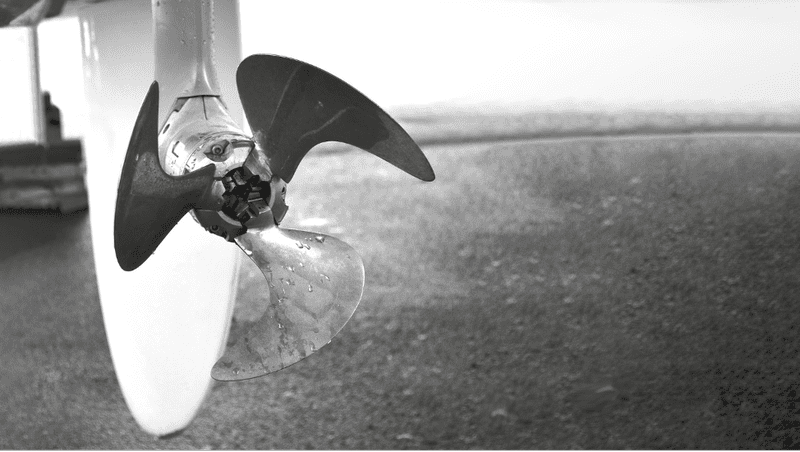
It is very difficult to service malfunctioning propellers when you are already at the sea – this is the part you better take care of thoroughly. Inspect the propeller shaft to ensure there is no more than one diameter distance between the forward end of the propeller hub and the aft end of the closest bearing (in the case of a traditional shaft). Check for any side-to-side movement of the shaft, which could indicate a misalignment or worn bearings. Also, don’t forget to check the shaft seals (in the case of a sail drive) for any dried or cracked rubbers and replace them if necessary.
Clean and mark the anchor chain to facilitate smooth anchoring operations. Remove any rust or dirt buildup and ensure that the chain moves freely through the windlass.
If there is a yellow blemish on yacht’s hull, use a rust remover or a hydrochloric acid solution to deal with it. Remember to follow the manufacturer's manual and take necessary safety precautions when using chemicals - we want to go boating instead of ending up in the hospital, right?
Inspect the soft plastic parts above the waterline for any cracks or damages and repair any issues to prevent further deterioration and water ingress. After this, prepare the part of the yacht above the waterline for polishing and waxing: clean the surfaces thoroughly, removing any dirt, oxidation, or old wax, then apply a high-quality polish and wax to protect and enhance the appearance of the gelcoat.
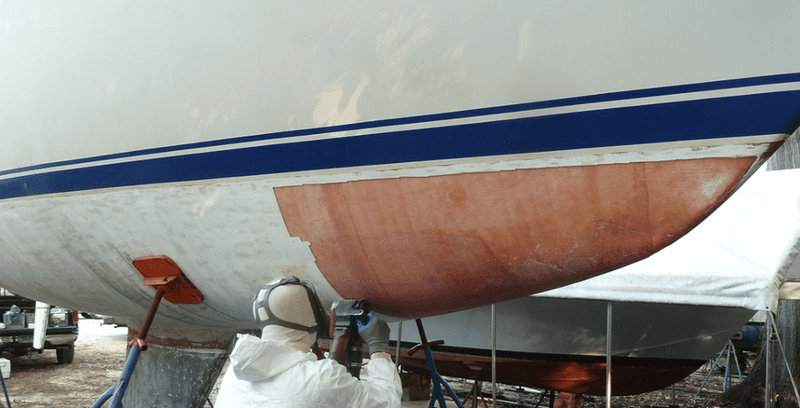
Eliminate the remaining flaking layer of old antifouling paint using a spatula or other mechanical or chemical methods. Establish a smooth surface for the application of new paint. After this, clean and prime any damages or scratches on the keel to provide a proper surface for antifouling paint, using appropriate materials and techniques to ensure a durable and effective repair.
Roughen the underwater surface using P100 sandpaper to promote good adhesion of the antifouling paint, then remove any dust and grease from the surface before applying the paint.
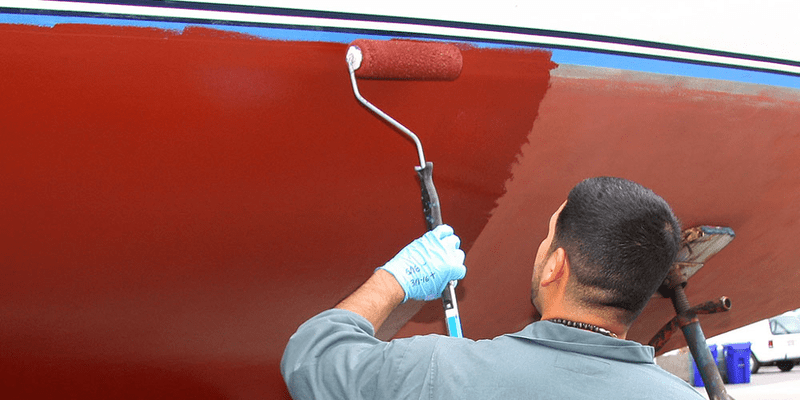
Mark the waterline again using blue tape as a guide for a clean and even application of antifouling paint. Follow the manufacturer's instructions regarding the number of coats and application method.
Apply the primer and antifouling paint according to the manufacturer's instructions. Ensure proper ventilation and use personal protective equipment during the painting process. Take your time and apply each coat evenly, allowing sufficient drying time between coats.
After the Launch
We already went through quite a journey, but rest assured – the most difficult parts are over and when it’s time to launch the boat, we can happily enjoy the fruits of our labor.
Once your yacht is back in the water, check all seacocks for leaks and ease of movement, don’t forget about all the cables that were disconnected before lifting – reconnect them properly right away. Test how all serviced mechanisms, such as the engine, bow thruster, and other equipment function after launching. Verify the functionality of all electrical and navigation systems, including lights and communication devices.
Inspect all through-hull fittings and sea strainers below the waterline to ensure there are no leaks and that the sea strainers are free from debris, clean and remove any accumulated marine growth. Check the bilge pumps for proper operation, the bilges must be dry at all times. Test both the automatic and manual switches to ensure that the pumps are always ready to go – you will need them in the most unfortunate and unexpected situations.
Inspect the stern gland (in the case of traditional shafts) for any leaks and adjust it, if necessary, move on to check the sail drive's bellows and seals for any signs of leakage and address any issues promptly.
All rigging and sails must be examined before setting sail: check it for any signs of wear, be ready to patch up the damaged parts. Hoist and inspect each sail to ensure it is in good condition and properly rigged, perform a thorough check of all the safety gear. Replace expired items and ensure they are easily accessible for everyone on board. Review and update your sailing wardrobe based on weather forecasts and any changes in your plans. Be aware of local regulations and collect all needed navigational charts for your intended sailing areas.
Last but not least, enjoy yourself! Each time you go through all this process, you accomplish a truly herculean task, which is easy to see just from the size of this article. But after all these procedures your vessel is ready to happily cut through the sea waves, well prepared for even the most daring adventures on the water, so all that hard work pays off in the end. Don’t forget to download the PDF file that we prepared for you – it contains the compact list of all the steps described here.